Getting started
Four steps and you're set up — here's exactly what to expect.
Add an account
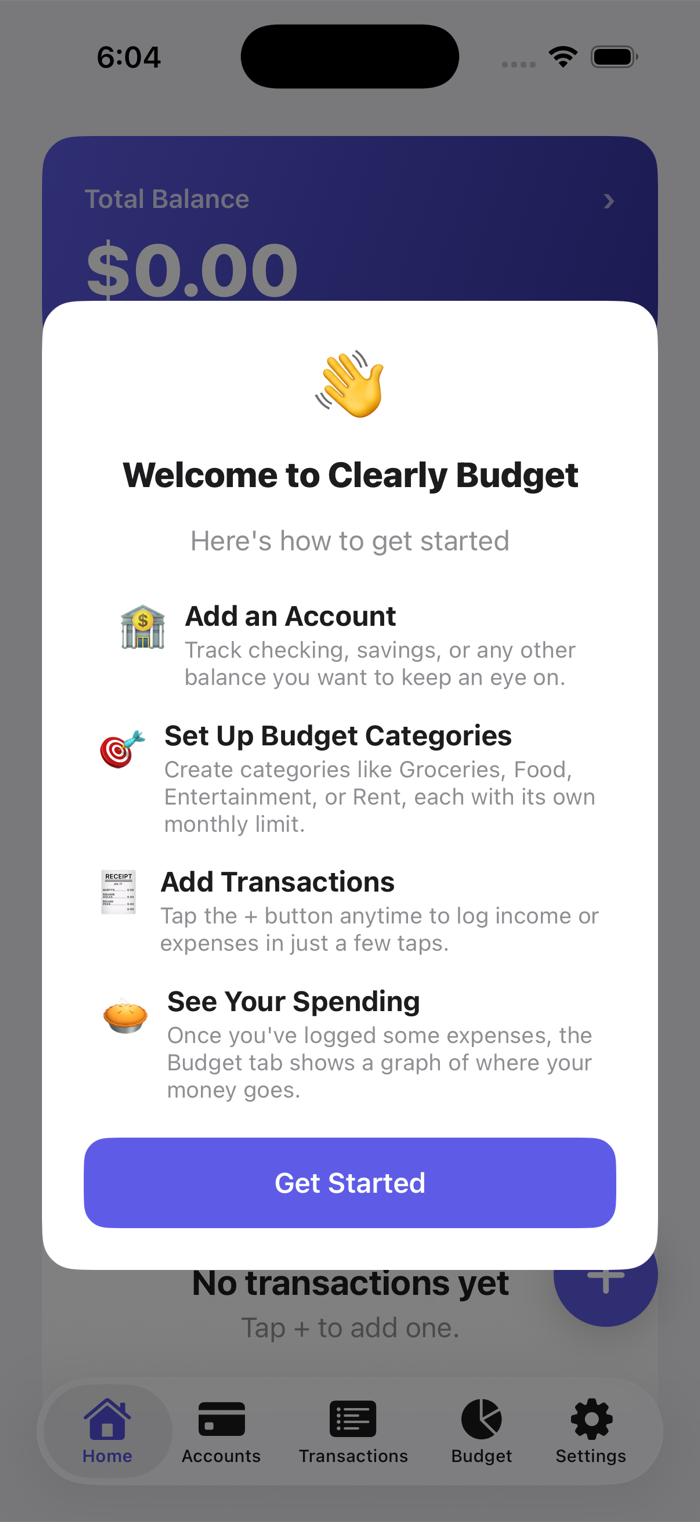
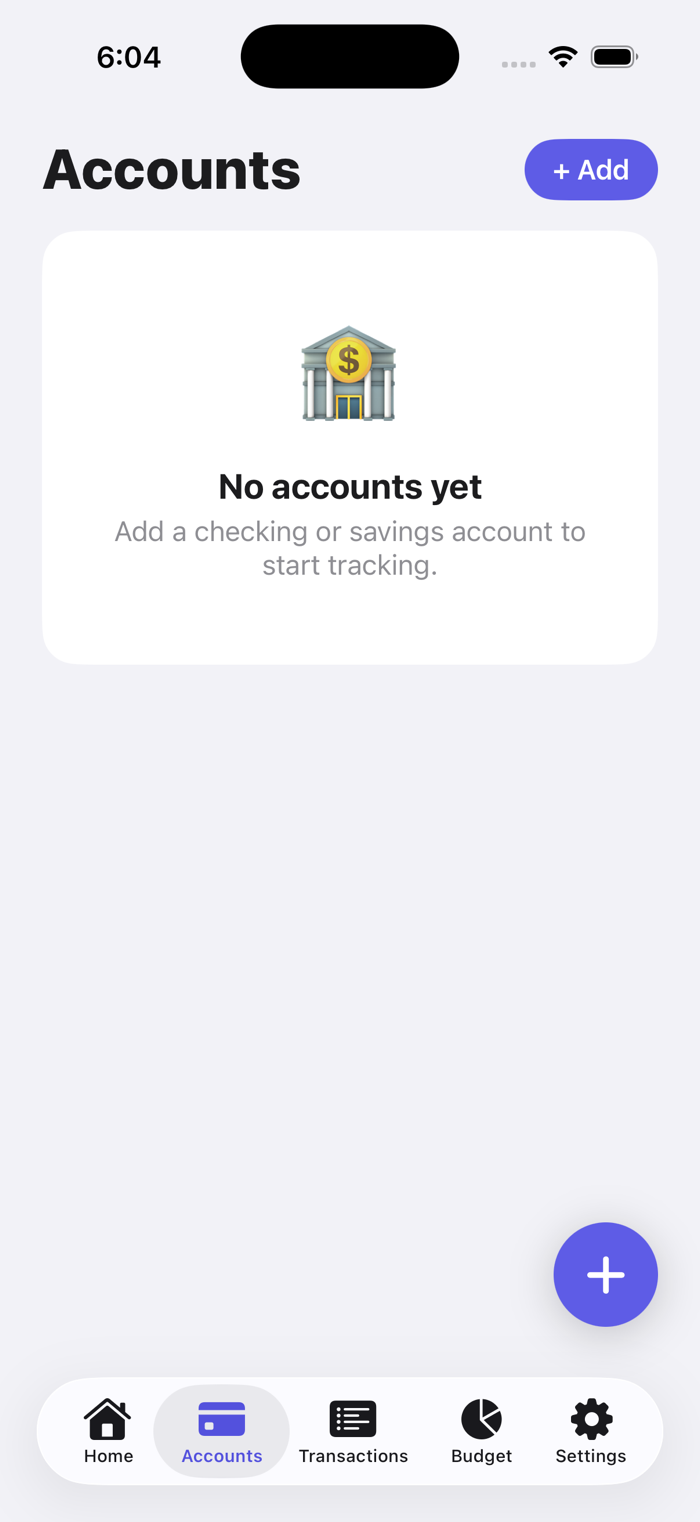
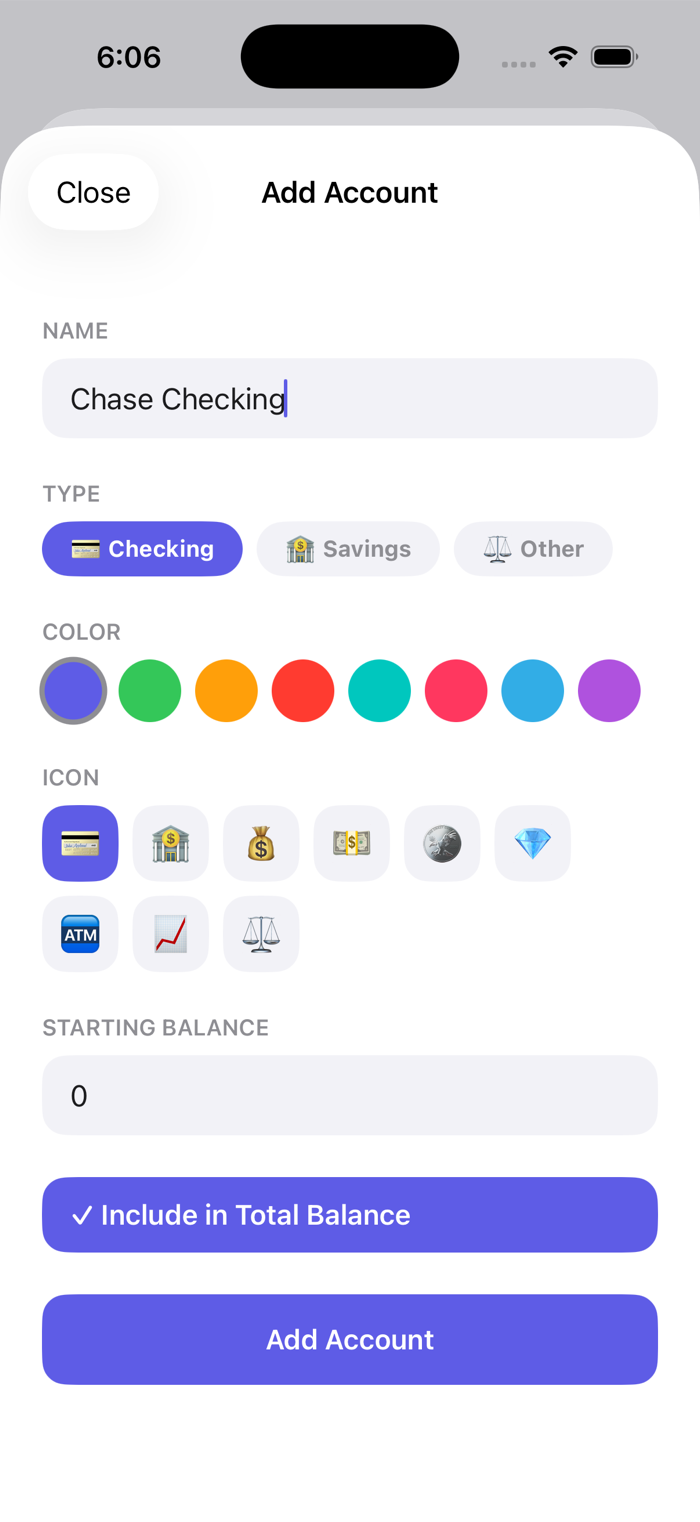
Open the Accounts tab and tap + Add. Give it a name, pick checking, savings, or other, choose a color and icon, and set a starting balance. Add as many as you want — checking, savings, cash, anything you'd like to track — and choose which ones count toward your total balance.
Set up budget categories
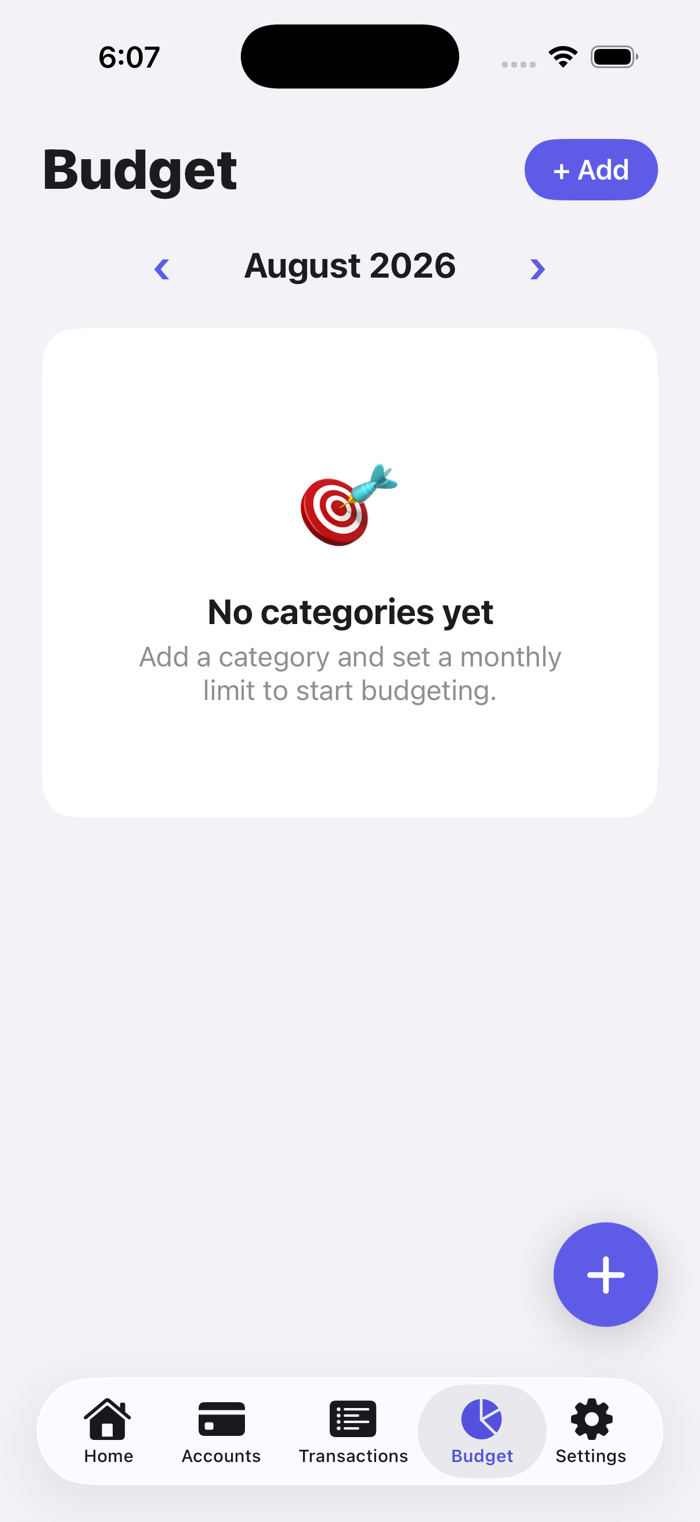
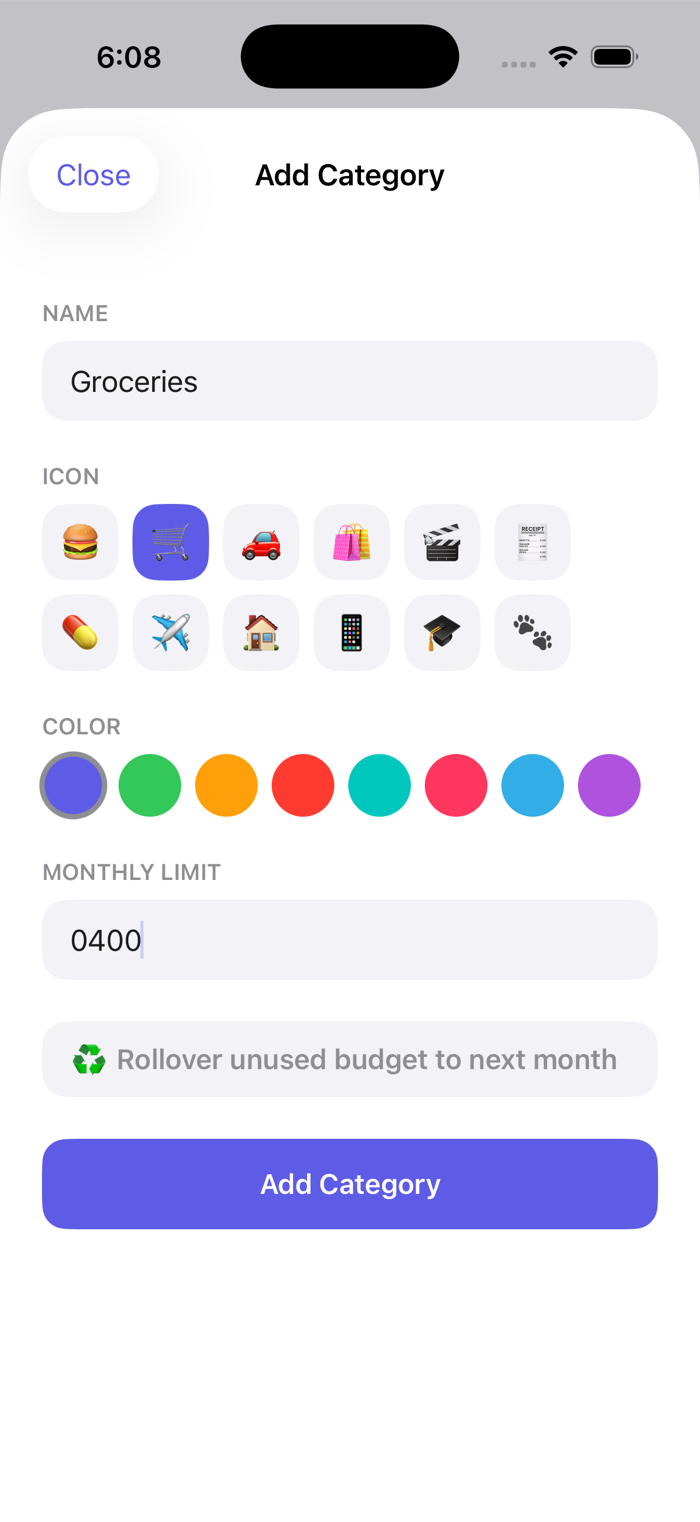
In the Budget tab, tap + Add to create a category like Groceries, Entertainment, or Rent, and give it a monthly limit. Turn on rollover for any category and unused budget carries into next month automatically.
Add a transaction
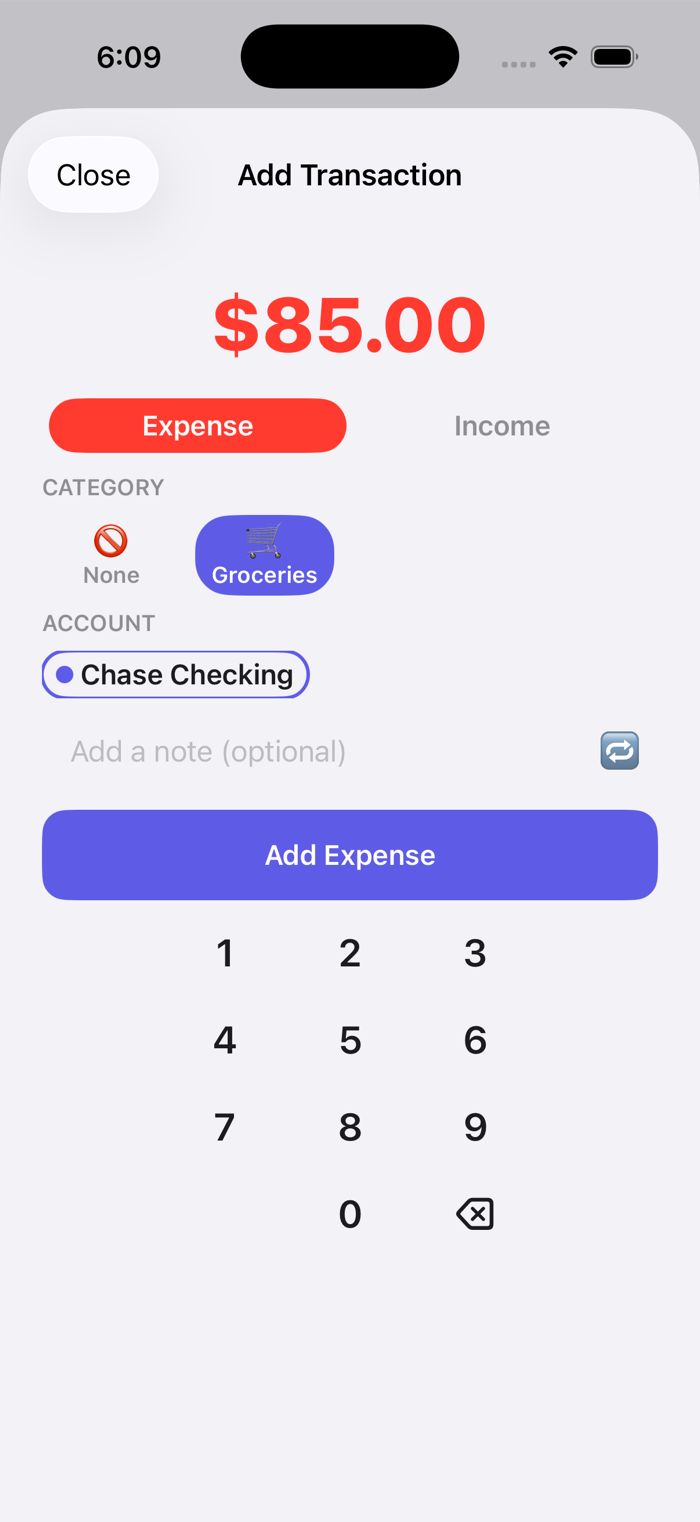
Tap the + button from anywhere in the app. A numpad opens immediately — no system keyboard, no extra taps. Pick expense or income, tap a category, and your last-used account is already selected. Log it and you're back to what you were doing.
See your spending
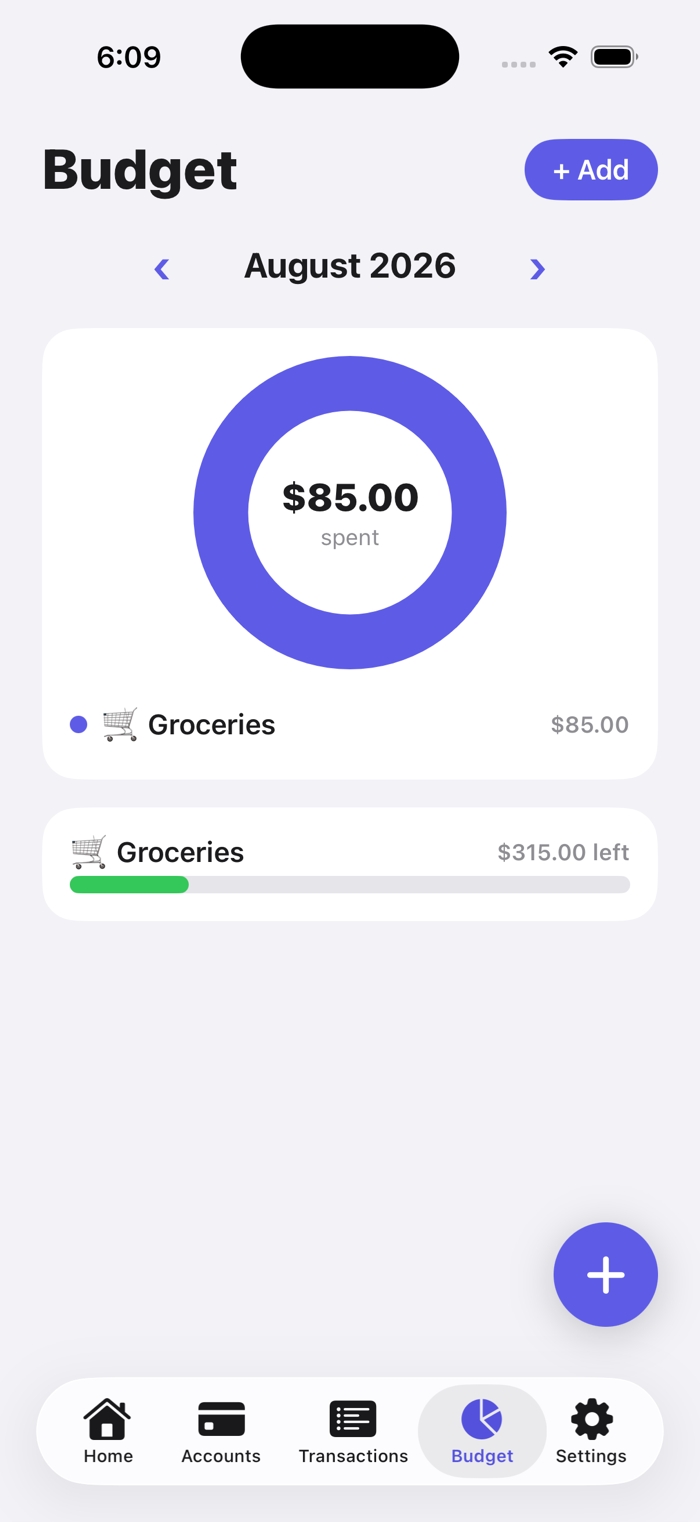
Head back to the Budget tab and every logged expense shows up in the spending chart, broken down by category, with a progress bar for how much of each limit is left. No setup, no configuring — it's just there.
That's it — you're set up
From here it's just logging as you go. Everything else — rollover, recurring bills, widgets, iCloud sync — works quietly in the background.
Download on the App Store